Getting Started in That Freekick Challenge
First-session checklist for TFC beginners before challenge 1v1.
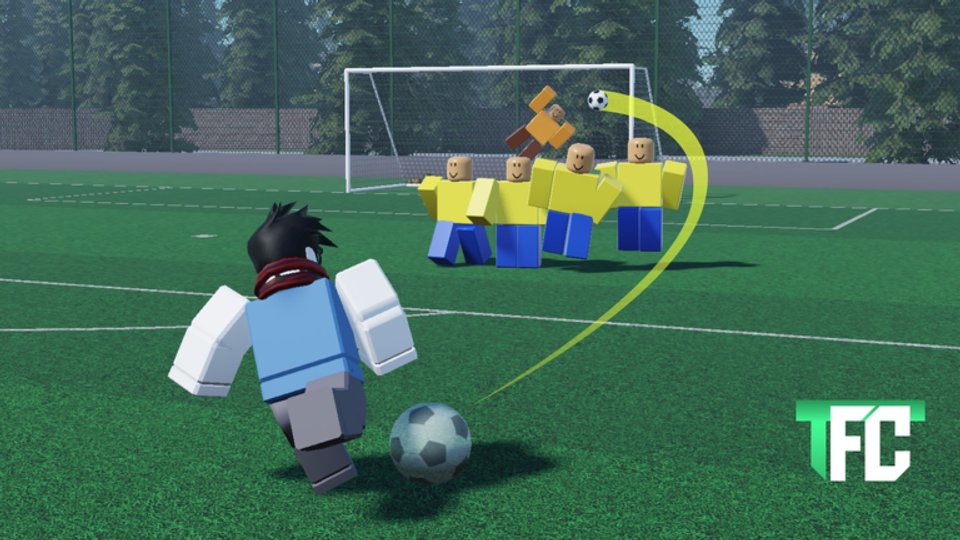
That Freekick Challenge (TFC) by NelStud is a Roblox free-kick sandbox built around customizable walls, keepers, trajectory lines, and perk-powered shots. Your first hour should teach you how to read the shot screen, not how to max Power and hope. This getting-started guide walks you from tutorial to a repeatable curling free kick you can take into challenge 1v1.
First session checklist
- Finish the in-game tutorial so menus, the Misc / Settings path, and the shot UI unlock cleanly.
- Open Codes on this wiki, then redeem every working code in Settings for Coins and Perk Points.
- Skim Controls and confirm Space / Left Mouse Button charge, Q / E curve, and W / S height on your keyboard.
- Build a simple Free Kick Setup with a fixed wall and goalkeeper.
- Practice the scoring recipe from How to Score before you queue a friend.
Do not skip codes. Early Coins buy better cards, and Perk Points let you test Zone or Rocket instead of grinding blind. Compare cards on Players and priority picks on the Tier List.
Understand the four stats
TFC builds around Accuracy, Precision, Power, and Curve. Dumping every point into Power is the most common beginner mistake.
- Accuracy reduces placement noise so the ball tracks closer to the line you set.
- Precision widens the timing window so clean contact is easier to hit.
- Power raises how hard you can drive the ball — useful, but easy to sail over the bar.
- Curve strengthens bends when you pull Q / E for an inside-foot curl.
A balanced early spread beats a glass cannon. If your shots already clear the wall but miss wide, invest Accuracy and Curve before more Power. If timing feels tiny, Precision helps more than another Power tick. Card pages on Players show how stats stack with perks.
Read the shot screen before you kick
Every attempt should start with a visual checklist:
- Shot label — prefer INSIDE FOOT CURLED for learning bends.
- Yellow trajectory line — does it clear the wall and approach a reachable part of the goal?
- Angle readout — note the number so you can change it by a small step next try.
- Power percentage — beginners should live around 60–65%, not 100%.
Pick a target first (just inside a post or the far-post pocket), then shape the route. That order is the heart of Free Kick Setup and keeps practice honest.
Fair practice habit
Freeze the layout for three kicks. Same ball spot, same wall, same keeper. Change only one input: height, curve, approach angle, or power. If the ball hits the wall, open Beat the Wall and raise the trajectory or widen the curl before you touch Power again. If the ball clears but the keeper collects easily, aim farther inside the post or add a touch more bend — still one change at a time.
This habit transfers directly to challenge 1v1. You will not have endless custom props in a duel, but you will have a muscle-memory recipe: mid power, inside-foot curl, lift over the first defender, bend back inside the far post.
Perks after your first coins
Once codes and early rewards land, spend a Perk Point deliberately:
- Zone — strongest all-rounder; lifts Accuracy, Precision, Power, and Curve for the shot so weak cards still feel workable.
- Rocket — boosts launch speed; great when your aim is already clean and you want the keeper less time.
Other perks help timing guides or perfect timing windows, but Zone and Rocket win most early scoring sessions. See the Tier List for ranking context and Updates if a patch retunes values.
Challenge 1v1 readiness
Enter challenge mode only after you can:
- Charge and release without panic.
- Clear a standard wall on most attempts.
- Place the ball inside the frame more often than not at 60–65% power.
- Reset with R and rebuild the same angle after a miss.
In a duel, take five seconds to read the keeper. If they shade one post, attack the open side with curl instead of blasting center. Keep How to Score and Controls open in another tab until the inputs feel automatic.
Sibling guides
- Controls — full input map and camera tips.
- Free Kick Setup — target-first route building.
- How to Score — curling free-kick recipe.
- Beat the Wall — fix wall collisions fast.
Also use Codes, Tier List, Players, Scripts, Updates, and the Wiki overview when you need economy, rankings, or patch context.
Stay patient for the first twenty kicks. That Freekick Challenge rewards deliberate setup more than spam. Claim codes, balance your four stats, lock a fair layout, and graduate to challenge 1v1 with a curl you can repeat under pressure.
Frequently Asked Questions
Quick answers to the most common questions.
What should I do first after joining That Freekick Challenge?
Finish the tutorial, redeem codes from the Codes hub, then practice a fixed free-kick setup with INSIDE FOOT CURLED before spending Coins on cards.
Should beginners max Power first?
No. Balance Accuracy, Precision, Power, and Curve. Extra Power without aim control often hits the bar or flies wide.
Which perk should I unlock early?
Zone is the safest early perk because it boosts all four attributes for the shot. Rocket is excellent once your route already clears the wall.
How do I practice for challenge 1v1?
Keep wall, keeper, and ball position fixed. Change one setting per kick until you can clear the wall and bend inside a post at about 60–65% power.
Where can I compare cards before buying?
Use the Players hub for card stats and the Tier List for perk priority after you claim Coins from codes.
What if my shots keep hitting the wall?
Open the Beat the Wall guide. Raise trajectory with W/S, add more Q/E curl, or adjust approach angle before increasing power.